Project Overview
This guide will walk you through setting up an Apache web server on Ubuntu. By following these steps, you'll have a fully functional web server running on your local machine.
Requirements:
- Ubuntu Linux system
- Terminal/command line access
- Administrator privileges (sudo access)
- Network connectivity
Setup Steps
Open Terminal
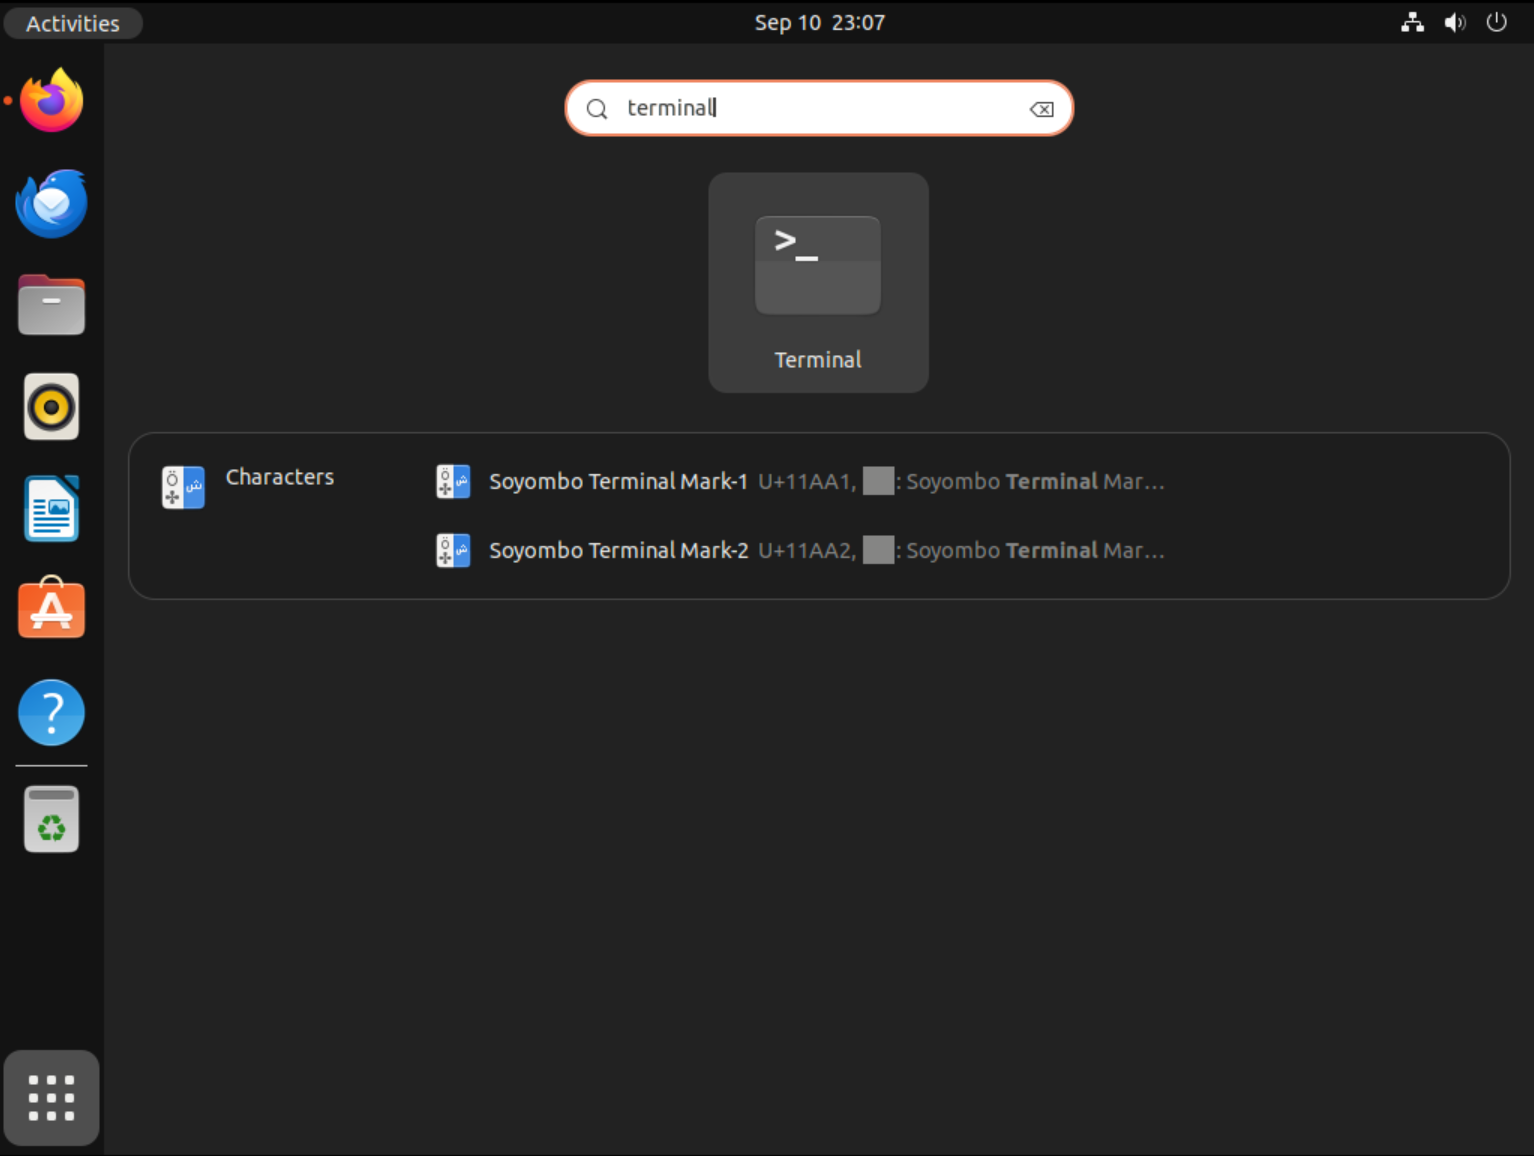
The first step is to open your terminal application. The terminal (also called command line or shell) is a text-based interface that allows you to interact with your operating system using commands.
How to open terminal on Ubuntu:
- Press
Ctrl + Alt + T(keyboard shortcut) - Search for "Terminal" in the applications menu
- Click on the terminal icon in the taskbar if pinned
Once opened, you should see a command prompt that typically shows your username, computer name, and current directory. This is where you'll type all the commands needed to set up your web server.
Important: Make sure you have administrator privileges (sudo access) as most server setup commands require elevated permissions to install software and modify system settings.
Update Package Manager
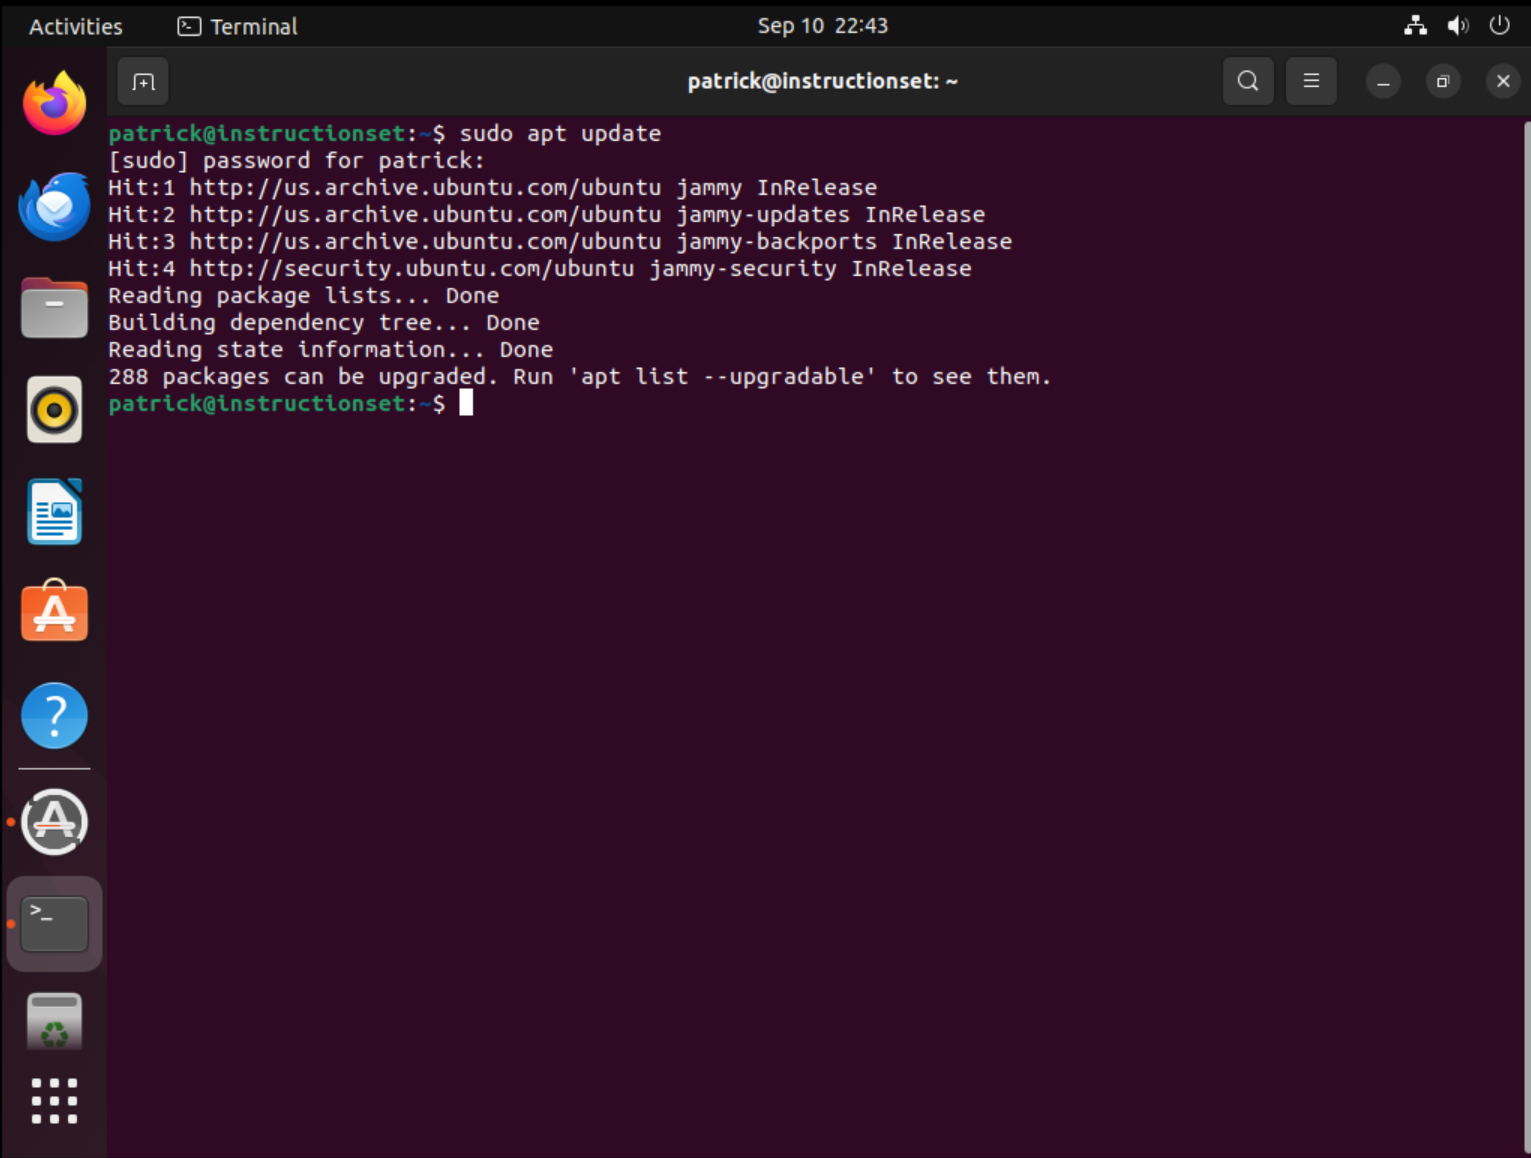
Before installing any new software, it's crucial to update your package manager's list of available packages. This ensures you get the latest versions and security updates.
Type the following command in your terminal:
sudo apt update
What this command does:
- sudo: Runs the command with administrator privileges (SuperUser DO)
- apt: Advanced Package Tool - Ubuntu's package manager
- update: Downloads the latest package information from repositories
You'll see text scrolling by as the system downloads updated package lists from Ubuntu's repositories. This process typically takes 30-60 seconds depending on your internet connection.
Note: If prompted for a password, type your user account password. The cursor won't move as you type (this is normal for security reasons).
Wait for the command to complete before proceeding to the next step. You'll know it's done when you see your command prompt return.
Install Apache Web Server
Now we'll install Apache HTTP Server, which is one of the most popular and reliable web servers in the world. Apache powers approximately 30% of all websites globally and is known for its stability, security, and extensive configuration options.
Type the following command to install Apache:
sudo apt install apache2 -y
Breaking down this command:
- sudo: Execute with administrator privileges
- apt install: Command to install a package
- apache2: The package name for Apache web server
- -y: Automatically answer "yes" to installation prompts
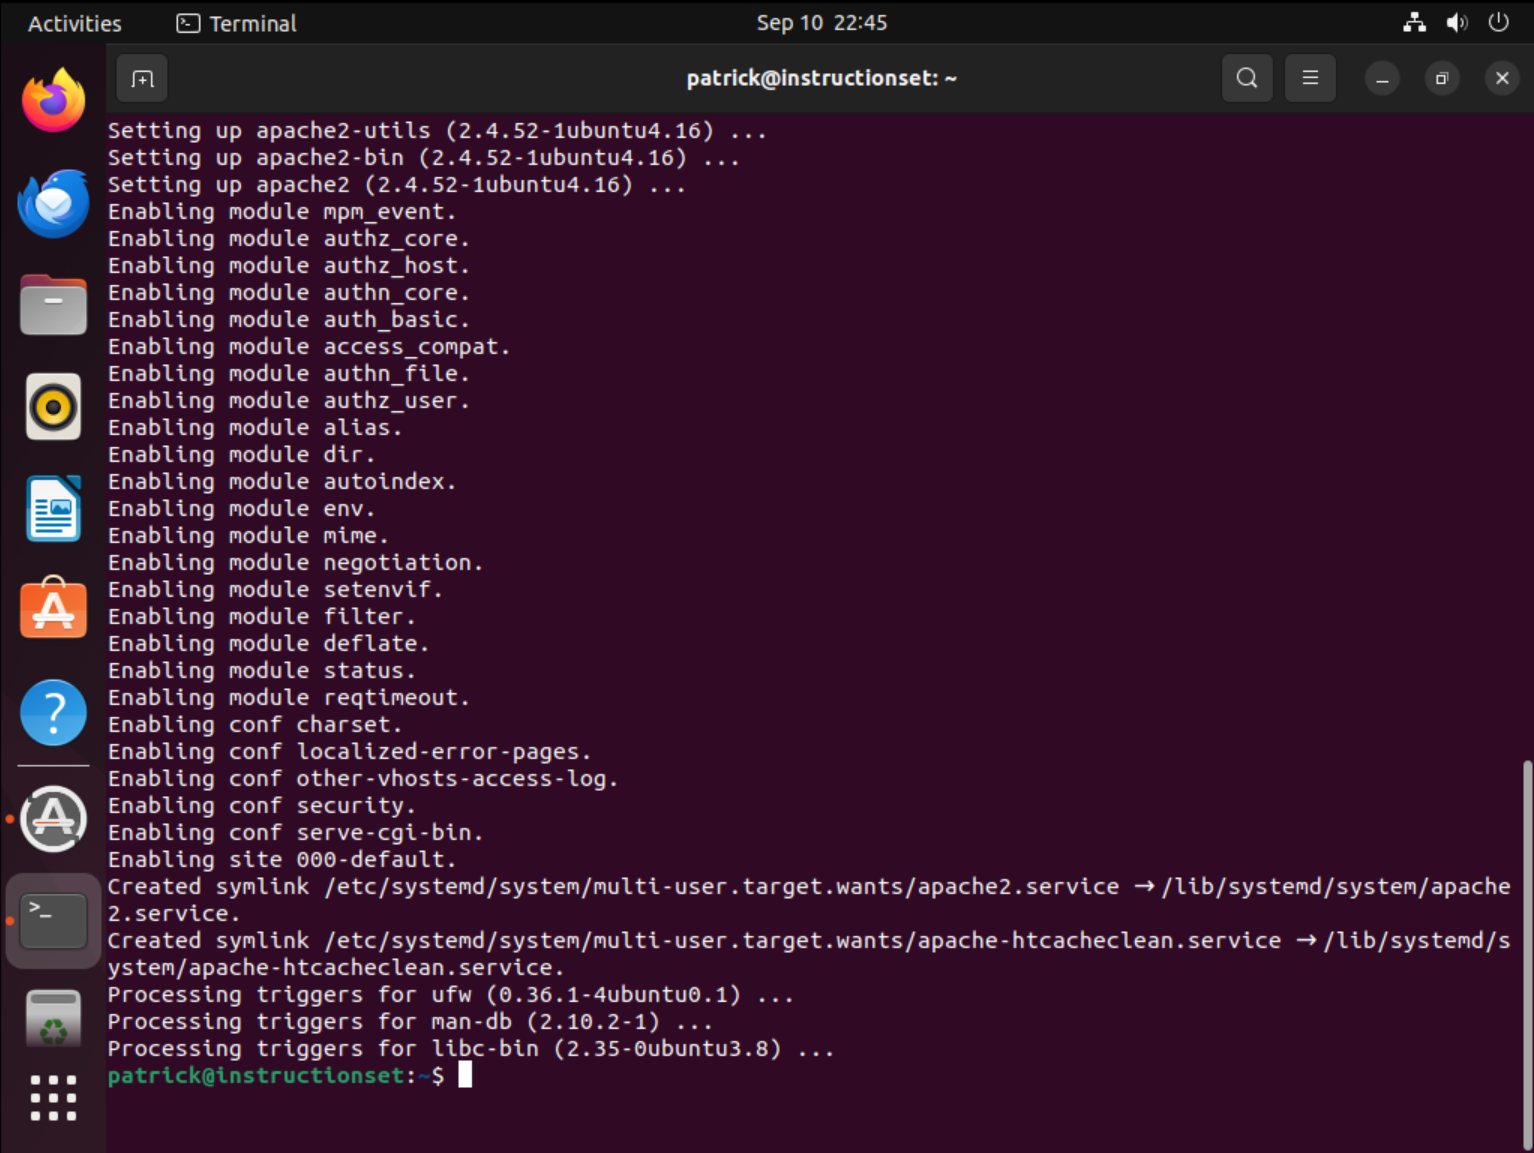
What happens during installation:
- The system downloads Apache and its dependencies (about 10-20 MB)
- Apache is installed to
/etc/apache2/for configuration files - Web content directory is created at
/var/www/html/ - Default configuration files are set up automatically
- Apache service is registered with the system
The installation process typically takes 2-5 minutes. You'll see progress indicators and package information scrolling by. When complete, Apache will be installed but not yet running.
About Apache: Apache HTTP Server is open-source software maintained by the Apache Software Foundation. It's highly configurable, supports numerous modules, and can handle thousands of concurrent connections.

Start and Enable Apache
After installation, Apache needs to be started and configured to automatically start when the system boots. Ubuntu uses systemd to manage services, which provides the systemctl command for controlling services.
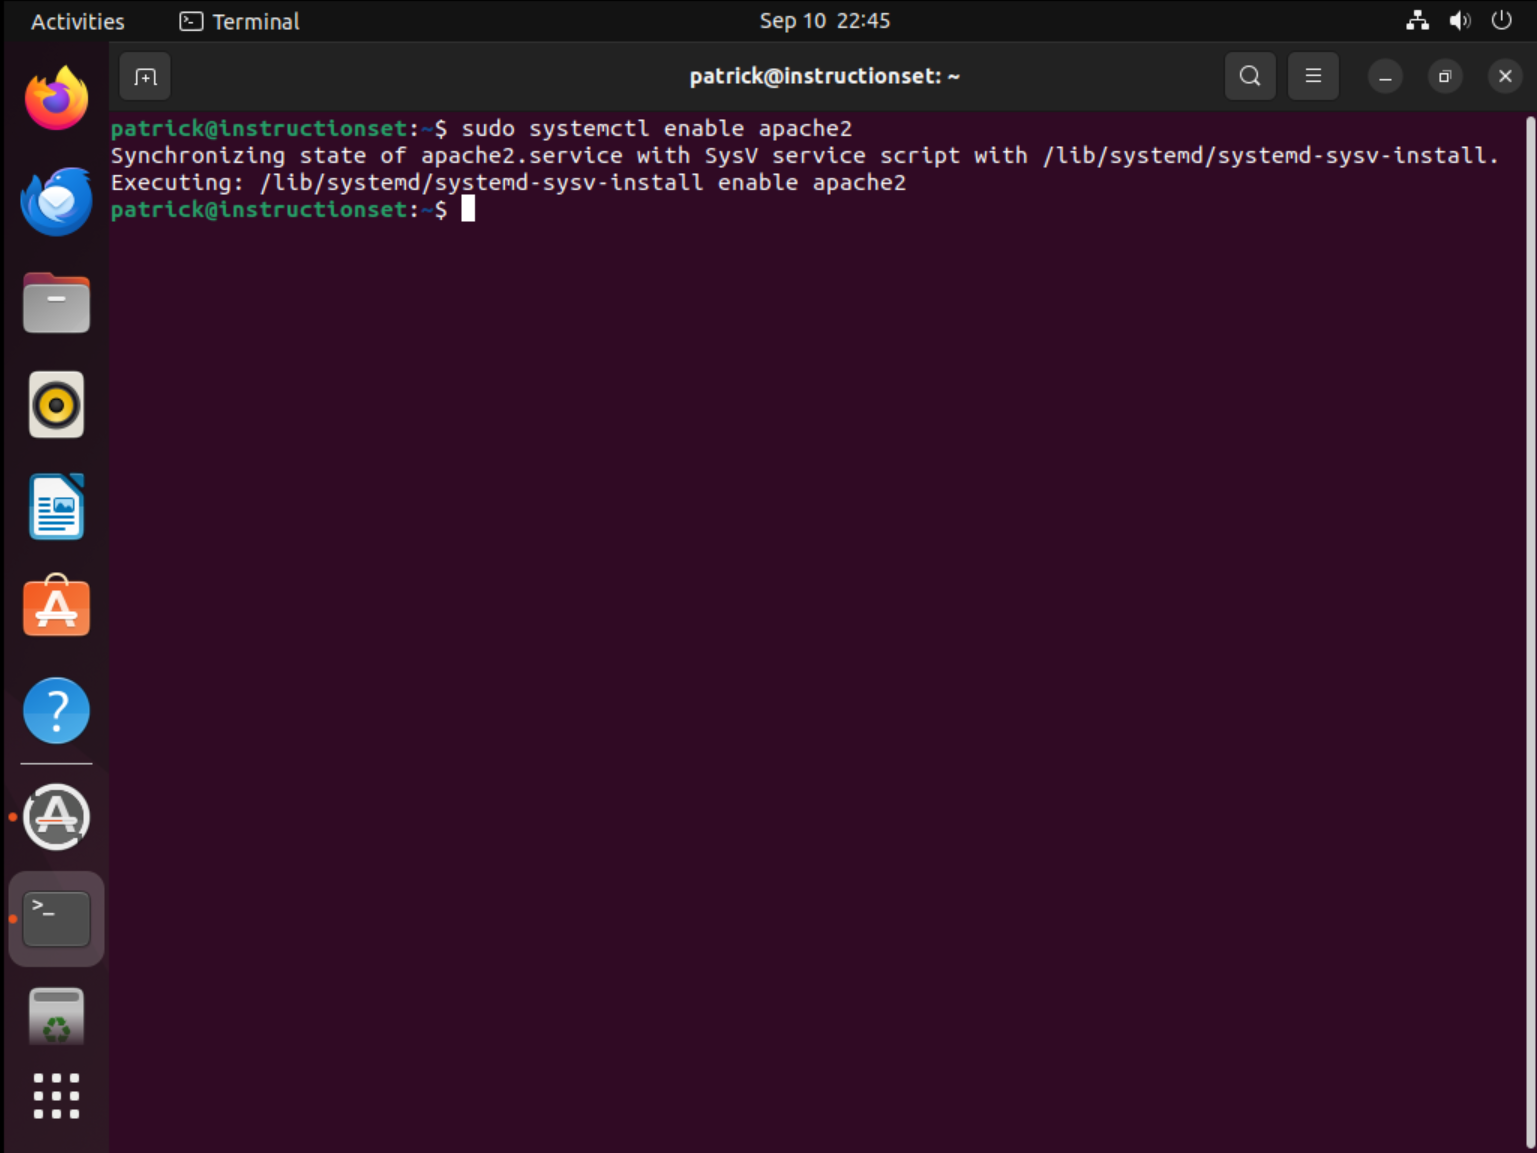
First, enable Apache to start automatically at boot:
sudo systemctl enable apache2
Then, start the Apache service immediately:
sudo systemctl start apache2
Understanding these commands:
- systemctl: System control command for managing services
- enable: Sets up the service to start automatically at boot time
- start: Immediately starts the service right now
- apache2: The name of the Apache service in systemd
What happens when you run these commands:
- Enable command: Creates symbolic links in the system startup directories
- Start command: Launches the Apache daemon processes
- Apache begins listening on port 80 (HTTP) and port 443 (HTTPS if configured)
- The web server is now ready to serve web pages
Pro tip: You can combine both commands into one: sudo systemctl enable --now apache2 (the --now flag starts the service immediately while enabling it).
If successful, these commands typically complete silently (no output means success in Linux).

Check Server Status
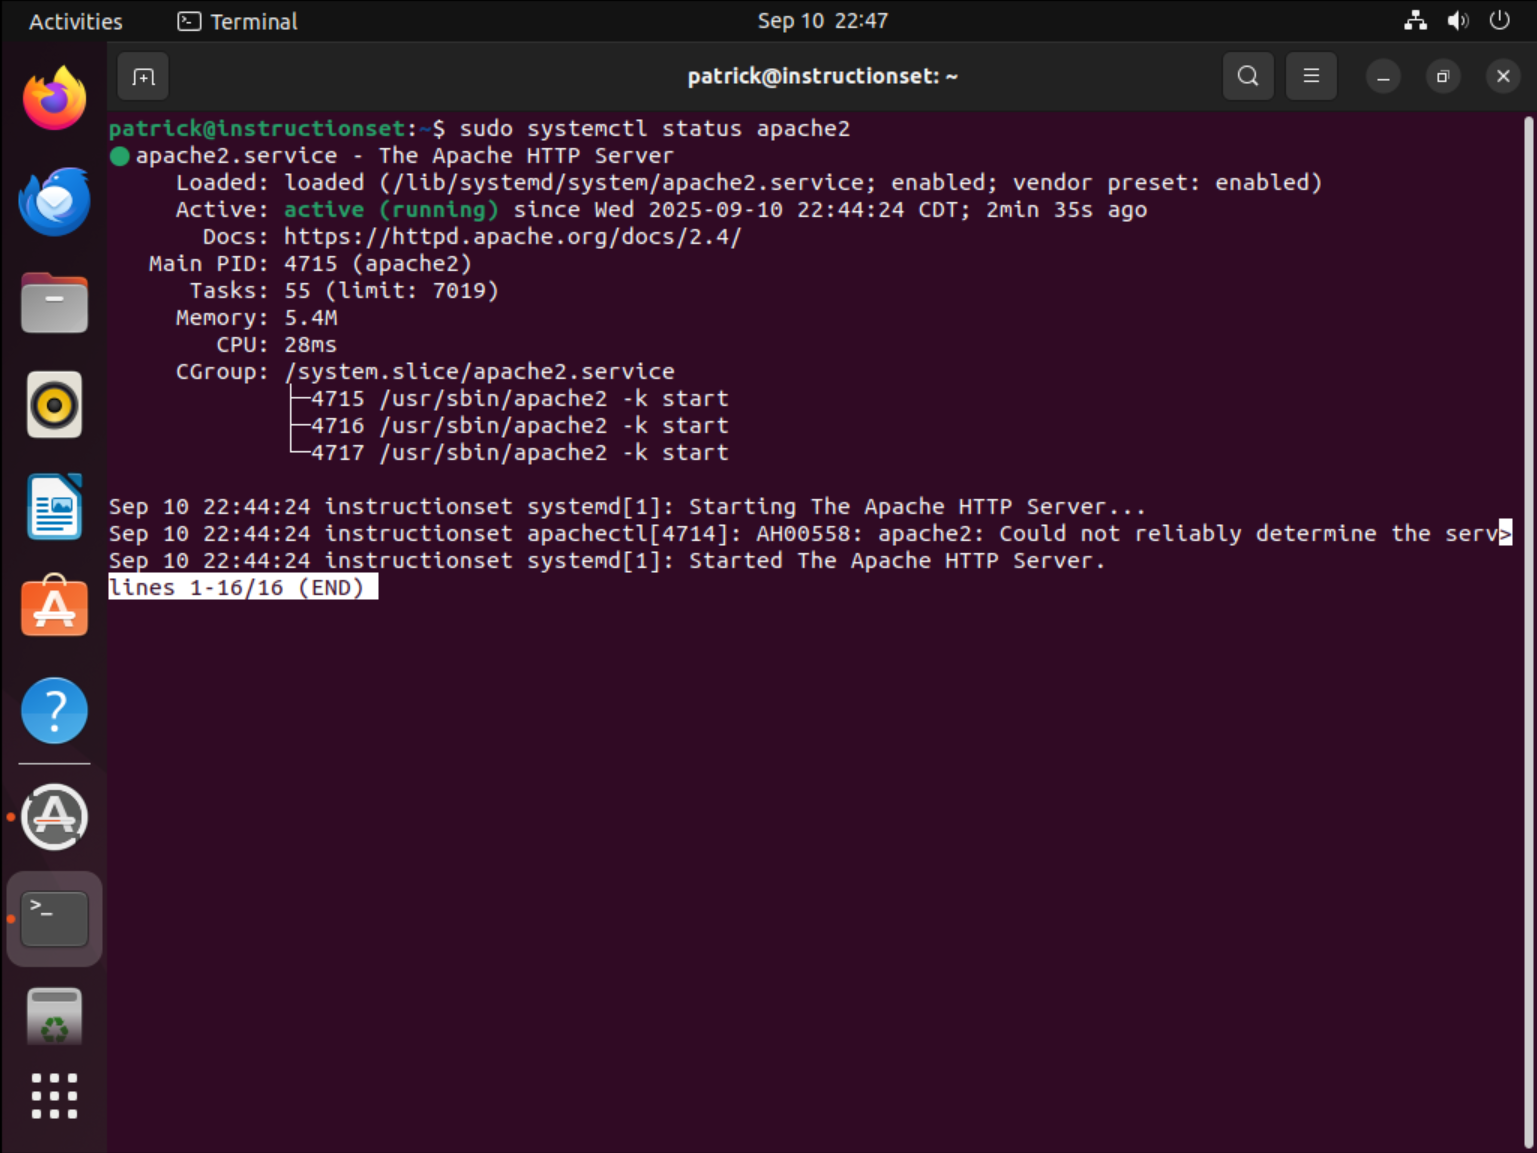
Now let's verify that Apache is running correctly. The systemctl status command provides detailed information about the service state, including whether it's active, any error messages, and recent log entries.
Type this command to check Apache's status:
sudo systemctl status apache2
Understanding the status output:
- Active: active (running): Apache is running successfully
- Loaded: Shows if the service is enabled to start at boot
- Main PID: The process ID of the main Apache process
- Tasks: Number of Apache worker processes running
- Memory usage: How much RAM Apache is currently using
- Recent logs: Last few log entries showing startup messages
What to look for in a successful status:
- Green "active (running)" status
- "Loaded" line shows "enabled" for auto-start
- Log entries showing "AH00558: apache2: Could not reliably determine..." (this is normal)
- "Server configured" message in the logs
Troubleshooting: If the status shows "failed" or "inactive," there may be a configuration error. Check the logs with sudo journalctl -u apache2 for detailed error information.
Press 'q' to exit the status view if it doesn't return to the command prompt automatically.
Test Local Access
Now it's time to test if your web server is working by accessing it through a web browser. This step confirms that Apache is not only running but also properly serving web pages.
How to test your web server:
- Open any web browser (Firefox, Chrome, Safari, etc.)
- In the address bar, type one of these URLs:
http://localhost
Alternative URLs to try:
http://127.0.0.1(localhost IP address)http://your-server-ip(if accessing from another machine)
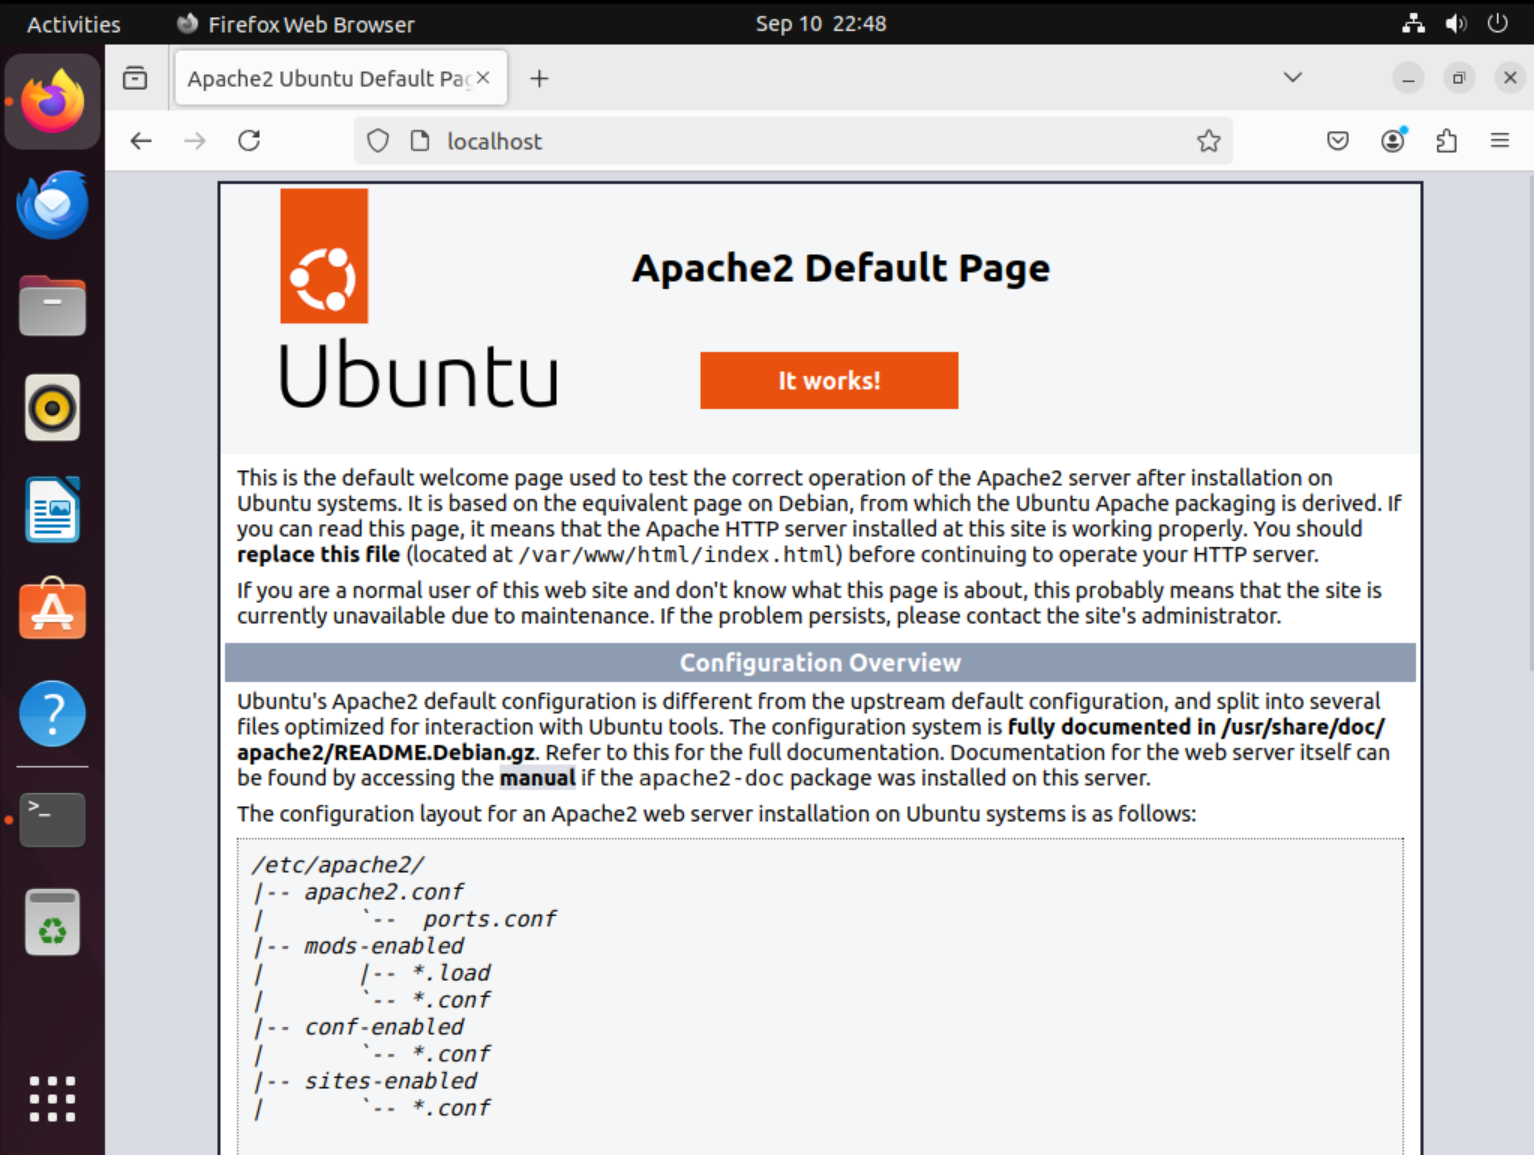
What you should see:
- Apache2 Ubuntu Default Page: A page with Ubuntu and Apache branding
- "It works!" message: Confirms Apache is serving pages correctly
- Configuration information: Details about Apache's setup and file locations
- Documentation links: Resources for further Apache configuration
Understanding what this means:
- Apache is successfully running and listening on port 80
- The default document root (
/var/www/html/) is accessible - Your firewall (if any) is allowing HTTP traffic
- DNS resolution for localhost is working
Troubleshooting if the page doesn't load:
- Check that Apache is running:
sudo systemctl status apache2 - Verify Apache is listening on port 80:
sudo netstat -tlnp | grep :80 - Check firewall settings:
sudo ufw status - Try accessing the server's IP address instead of localhost
Add Your Own Site Files
Now that Apache is working with the default page, let's learn how to add your own website content. The web server serves files from a specific directory called the "document root."
Navigate to the web directory:
cd /var/www/html
Explore what's currently there:
ls -la
Understanding the web directory structure:
- /var/www/html/: Default document root for Apache on Ubuntu
- index.html: The default page that loads when someone visits your site
- File permissions: Files must be readable by the www-data user (Apache's user)
- Directory structure: You can create subdirectories for organized content
Options for adding your content:
- Replace the default page:
sudo rm /var/www/html/index.html sudo nano /var/www/html/index.html - Create additional pages:
sudo nano /var/www/html/about.html - Upload files from your computer:
sudo cp /path/to/your/files/* /var/www/html/
Setting proper permissions:
sudo chown -R www-data:www-data /var/www/html/
sudo chmod -R 755 /var/www/html/
Best practices:
- Always backup the original index.html before replacing it
- Test your pages by refreshing the browser after changes
- Use proper HTML structure and validation
- Organize content in subdirectories for larger sites
- Set appropriate file permissions for security
After making changes, refresh your browser to see your new content. Your custom website will now be served by Apache!
Troubleshooting
Apache won't start
Check if port 80 is already in use: sudo netstat -tlnp | grep :80
Can't access from other devices
Check firewall settings: sudo ufw status and allow Apache: sudo ufw allow 'Apache'
Permission denied errors
Ensure proper ownership: sudo chown -R www-data:www-data /var/www/html
Next Steps & Additional Resources
Setting up a web server is the first step to hosting your own website. Once you have this running, you can expand into more advanced setups such as adding PHP, MySQL databases, or hosting through cloud providers like AWS for global access.
Important Note
These steps are for Ubuntu on a home server. If you are using AWS, Google Cloud, or another provider, the exact commands may be the same, but you may also need to configure security groups, open ports, and manage cloud settings.
Additional Resources
Additional help may be found in Ubuntu's official documentation: https://ubuntu.com/server/docs/web-servers-apache